





In This Article Show
I’ll be honest. The first time I saw a beautifully designed above ground pool, I had no idea it wasn’t built into the ground. The deck blended perfectly with the surrounding patio, natural stone wrapped around the pool walls, and carefully placed plants softened every edge. It looked like a custom backyard retreat that could have cost tens of thousands of dollars.
The good news is that you don’t have to spend a fortune or completely excavate your yard to achieve the same effect. With the right combination of decking, landscaping, cladding, and thoughtful design, an above ground pool can look surprisingly similar to a built in one. In many cases, the transformation costs far less than installing a traditional inground pool and takes a fraction of the time.
In this guide, I’ll walk you through the most effective ways to make an above ground pool look inground. We’ll cover everything from deck designs and partial burial methods to exterior finishes, coping details, and practical planning tips that help create a polished, high end result.
Quick Ways to Make an Above Ground Pool Look Inground

If you’re looking for the biggest visual impact, these are the upgrades worth considering first:
- Build a wrap around deck or install level decking to hide the pool walls and create the appearance of a built in pool.
- Partially recess the pool into the ground if your yard and soil conditions allow it.
- Cover the exterior walls with decorative cladding or stone veneer for a finished architectural look.
- Add landscaping, hardscaping, and lighting to blend the pool naturally into the rest of your outdoor space.
Each option works well on its own, but combining several of them creates the most convincing transformation.
- Deck
- Partial recess
- Cladding and plants
Decking: The Single Biggest Transformation

If I had to recommend just one improvement, it would be adding a deck. Nothing changes the appearance of an above ground pool more dramatically than bringing the deck level close to the top edge of the pool.
Without exposed metal walls, the pool immediately feels like a permanent part of the backyard instead of a standalone structure. The deck also creates usable outdoor living space, making the entire area more inviting for family gatherings and summer entertaining.
Instead of walking up a ladder that clearly identifies the pool as above ground, guests step directly onto a deck that flows naturally into the water.
Why Flush Decking Works So Well:
A flush deck visually removes one of the biggest giveaways of an above ground pool: the tall exposed walls.
When the deck meets the top rail, your eye focuses on the water rather than the structure underneath. This simple design trick instantly makes the pool feel integrated into the landscape.
It also creates cleaner sight lines from your patio, house, or garden.
For more layouts, see these above ground pool deck ideas.
- Flush deck
- Hides walls
- No ladder look
PRO TIP Keep a self closing, self latching gate at the top of any deck stairs and make sure a ladder or steps cannot be climbed from outside the pool area.
Popular Deck Designs
Full Wrap Around Deck:
This is the gold standard if your budget allows.
A wrap around deck surrounds the entire pool and creates the illusion that the pool was designed as part of the landscape from day one.
Benefits include:
- Plenty of room for lounge chairs
- Space for outdoor dining
- Easy access from multiple sides
- A seamless built in appearance
- Hidden pool walls
This option works especially well for round and oval above ground pools.
Multi Level Deck:
Not every backyard is flat, and that’s actually an advantage.
A multi level deck introduces different elevations that naturally distract the eye from the pool’s original height.
For example:
- Upper level for dining
- Middle level for lounging
- Pool level for swimming
The layered design feels intentional and adds architectural interest to the backyard.
Terraced Deck with Built In Seating:
Built in benches are one of those details that make a project feel custom.
Instead of filling the deck with outdoor furniture, incorporate seating into the structure itself.
Ideas include:
- Corner benches
- L shaped seating
- Storage benches
- Fire pit seating nearby
These additions create the impression of a professionally designed outdoor living area rather than a simple pool deck.
Sunken Lounge Area:
If your yard allows, consider lowering part of the deck into a conversation pit or lounge space.
This modern design has become increasingly popular because it creates visual depth.
Adding:
- Outdoor sofas
- A coffee table
- Planters
- Decorative lighting
helps transform the area into a true backyard retreat.
Best Deck Materials
Choosing the right material matters just as much as the design.
Some finishes immediately elevate the appearance of an above ground pool, while others can make the project feel temporary.
Composite Decking
Composite remains one of my favorite options because it requires very little maintenance.
Advantages include:
- Won’t splinter
- Resists fading
- Easy to clean
- Available in lifelike wood tones
- Long lifespan
Although the upfront investment is higher than wood, many homeowners recover that cost through lower maintenance over time.
Hardwood Look Composite
If you love the appearance of tropical hardwood but don’t want yearly maintenance, hardwood look composite is an excellent compromise.
Rich walnut, cedar, and teak inspired finishes pair beautifully with modern homes.
Pressure Treated Timber
This remains one of the most affordable options.
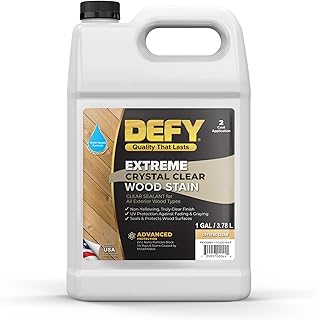
With proper staining or painting, pressure treated lumber can look surprisingly attractive.
Choose neutral colors like:
- Warm gray
- Soft brown
- Charcoal
- Weathered oak
These shades create a more upscale appearance than bright orange toned stains.
Stone Pavers Around the Deck
Even if most of the pool area is wood, adding stone pavers around entrances or seating spaces creates visual contrast.
Popular choices include:
- Travertine
- Concrete pavers
- Natural limestone
- Bluestone
Mixing materials often gives the backyard a professionally designed feel.
Practical Safety Tip
One mistake many DIY builders make is attaching the deck directly to the pool wall.
Instead, build the deck as an independent structure.
This protects the pool from unnecessary stress, allows for normal movement as the pool fills and empties, and follows common safety recommendations for above ground pool construction.
Semi Recessing an Above Ground Pool

If you’re willing to do a little excavation, partially recessing the pool is one of the closest alternatives to installing a true inground pool.
Rather than leaving the entire pool above grade, part of the wall sits below the surrounding soil.
The result is much more natural.
Instead of seeing four feet of exposed metal, you may only see one or two feet above ground.
That small difference completely changes how the pool fits into the landscape.
For more ways to sink the pool lower, see these sunken above ground pool ideas.
- Partial recess
- Use the slope
- Check the model
What Is a Semi Recessed Pool?
A semi recessed installation places part of the pool below ground while keeping the remaining section above grade.
Typically, homeowners bury between one and three feet of the pool wall.
Another popular approach is to take advantage of a sloped yard.
Rather than digging deeply across the entire site, builders use the existing slope so one side of the pool naturally sits lower than the other.
This reduces excavation while producing an attractive built in appearance.
Can an Above Ground Pool Be Fully Recessed?
In some cases, yes.
Certain above ground pool models are specifically engineered for complete or near complete burial.
However, not every pool is designed for underground installation.
Before choosing this option, carefully review the manufacturer’s recommendations.
Completely burying a pool that wasn’t designed for it can place excessive pressure on the walls and reduce its lifespan.
If full recessing is your goal, it’s worth investing in a model built for that purpose from the beginning.
Still deciding? This guide compares a semi inground vs above ground pool.
PRO TIP Burying a pool that was not designed for it can void the warranty and push the walls in. If you want it lower, choose a model rated for partial or full burial.
Important Structural Considerations
While the finished result looks beautiful, proper preparation underneath the surface is what determines how well the installation performs over time.
Skipping site preparation often leads to expensive repairs later.
Drainage Is Essential
Water should never collect around the outside of the pool walls.
Standing water increases soil pressure and may eventually affect the pool structure.
Good drainage usually includes:
- Gravel around the base
- Drain pipes where necessary
- Proper grading away from the pool
- Landscape fabric beneath backfill
These simple measures help protect your investment for years.
Soil Compaction
Loose soil settles over time.
Before installing retaining walls, patios, or landscaping around the pool, make sure the surrounding soil is properly compacted.
This reduces future shifting and helps prevent uneven surfaces.
Local Permits
Depending on where you live, partial excavation or retaining wall construction may require permits.
It’s always easier to check local regulations before construction begins than to fix compliance issues afterward.
PRO TIP Call your local utility locating service before any digging. Gas, water and power lines often run closer to the surface than people expect.
Leave Room for Equipment
It can be tempting to hide everything once the landscaping is complete.
However, your filter, pump, plumbing connections, and electrical components still need regular servicing.
Leave enough clearance so maintenance doesn’t require dismantling your beautiful new backyard.
Future you will appreciate the extra planning.
Semi Recess Planning Checklist
Before breaking ground, work through this simple checklist:
- Measure the exact pool dimensions.
- Confirm the pool model can be partially buried.
- Check for underground utilities before digging.
- Evaluate drainage patterns after heavy rain.
- Plan gravel and backfill materials.
- Decide where retaining walls or edging will go.
- Allow clear access to pumps and filters.
- Confirm local permit requirements if needed.
A few hours of planning can save weeks of frustration later.
Cladding, Veneer, and Coping Details

Even if you don’t build a deck or partially bury the pool, changing the appearance of the exterior walls can make an enormous difference.
Instead of looking at painted steel or resin panels, you’ll see materials that match the rest of your home’s architecture.
This is one of my favorite upgrades because it delivers impressive results without changing the pool itself.
Done well, visitors often assume the pool was custom built.
- Stone veneer
- Timber slats
- Coping
Stone Veneer
Stone veneer instantly adds texture and permanence.
Whether you prefer modern stacked stone or traditional fieldstone, this finish gives the pool a substantial, high end appearance.
Neutral colors such as gray, beige, charcoal, and warm limestone blend easily with most homes.
Stone works particularly well alongside patios and outdoor kitchens.
Stucco Finish
For Mediterranean, coastal, or contemporary homes, stucco creates a clean, seamless appearance.
Its smooth texture pairs beautifully with light colored decking and minimalist landscaping.
Choose a high quality exterior finish specifically designed for outdoor conditions.
Timber Slats
Vertical timber slats remain one of the most stylish choices for modern landscapes.
They soften the pool walls while adding warmth and natural texture.
Popular stain colors include:
- Cedar
- Walnut
- Weathered oak
- Natural teak
Spacing the slats evenly creates a custom architectural feature instead of simply covering the pool.
Project Card · 1 weekend · Moderate
Materials Needed
- Cedar or composite 1×4 slats
- Pressure treated 2×4 frame pieces that stand on their own beside the pool
- Exterior screws and a spacer block
- Level, miter saw and drill
- Exterior stain in cedar, walnut or weathered oak
How to Make It
- Measure the pool wall height and the length you want to cover.
- Build short free standing 2×4 frames that sit just outside the pool wall without pressing on it.
- Screw the slats on vertically, using the spacer block for even gaps.
- Leave one frame as a removable panel in front of the pump and plumbing.
- Stain or seal the slats, then set the frames in place around the pool.
Composite Wall Panels
Composite panels offer the beauty of wood with much less maintenance.
Unlike natural timber, they resist fading, moisture, and insects.
They’re an excellent long term choice for busy homeowners who want an attractive finish without regular upkeep.
Porcelain Tile
For a truly luxurious look, porcelain tiles can be incorporated into decorative feature sections around the pool.
Choose slip resistant, pool rated products that can withstand moisture and changing temperatures.
Large format tiles create a sleek, modern aesthetic.
Finish the Top with Coping
One detail that people often overlook is the top edge of the pool.
Adding coping creates the clean finishing touch that many custom pools share.
Popular choices include:
- Bullnose natural stone
- Timber cap boards
- Concrete coping
- Composite trim
- Matching pavers
Coping visually connects the pool with nearby patios and decking while hiding exposed edges.
It’s a relatively small upgrade that delivers a big improvement in the finished appearance.
Project Card · 1 day · Moderate
Materials Needed
- Timber or composite cap boards
- Small blocks or brackets to support the boards from the deck, not the pool rail
- Jigsaw for curved cuts on round pools
- Exterior screws and drill
- Sandpaper
How to Make It
- Check the pool maker’s guide so you do not drill into or load the top rail.
- Fix support blocks to the deck framing just outside the pool edge.
- Cut cap boards in short segments to follow the curve of the pool.
- Screw the boards to the supports so they overhang the wall slightly.
- Sand all edges smooth so they are safe for bare feet and wet hands.
Practical Installation Tips
No matter which exterior finish you choose, keep these practical points in mind:
- Use breathable materials whenever possible.
- Choose products rated for pool environments.
- Leave removable access panels for future maintenance.
- Avoid trapping moisture behind decorative finishes.
- Plan for seasonal expansion and contraction.
A beautiful exterior should never make future repairs more difficult.
With careful planning, you can enjoy both style and practicality, creating an above ground pool that blends naturally into your backyard and captures the timeless look of an inground installation.
Landscaping and Hardscaping to Blend the Edges

Once you’ve taken care of the pool structure, it’s time for my favorite part: making everything feel like it belongs together. This is where landscaping works its magic.
I’ve noticed that even a simple above ground pool starts looking far more expensive when it’s surrounded by greenery instead of open lawn. Plants soften hard edges, hide exposed sections of the pool, and make the space feel established rather than recently installed.
The goal isn’t to hide the pool completely. It’s to make it feel like a natural extension of your backyard.
Build Berms for a Natural Transition:
A berm is a gently raised mound of soil that creates gradual elevation around part of the pool.
Instead of seeing a sharp transition between the ground and the pool wall, the landscape flows naturally upward.
Berms work especially well for:
- Partial pool installations
- Sloped yards
- Corner placements
- Large backyards with open views
Cover the berm with mulch, decorative rock, or groundcover plants to create a polished finish.
Add Raised Planters:
Raised planters introduce height without making the area feel crowded.
You can build them from:
- Natural stone
- Concrete block with stone veneer
- Timber sleepers
- Composite landscape boards
Fill them with a mix of shrubs, ornamental grasses, and flowering plants for year round interest.
They also create excellent privacy around seating areas.
Hide Seams with Ornamental Grasses:
One landscaping trick I come back to again and again is ornamental grasses.
They move beautifully in the breeze and soften the straight lines of decks and retaining walls.
Great choices include:
- Feather reed grass
- Fountain grass
- Blue fescue
- Maiden grass
Plant them in groups rather than single specimens for a fuller, more natural appearance.
Use Low Retaining Walls:
If your yard has even a slight slope, a low retaining wall can help blend the pool into the landscape.
It also creates opportunities for:
- Additional planting beds
- Built in seating
- Decorative lighting
- Stone accents
A retaining wall around part of the pool makes the installation feel intentional rather than simply placed on top of the lawn.
For more planting plans, see these above ground pool landscaping ideas.
- Berms
- Raised planters
- Grasses
Project Card · 1 afternoon · Easy
Materials Needed
- Ornamental grasses such as feather reed grass and blue fescue
- Compost and mulch
- Spade and garden gloves
- Tape measure
- Garden hose
How to Make It
- Mark a planting bed along the deck edge or retaining wall, leaving a path to the equipment.
- Loosen the soil and mix in compost.
- Plant the grasses in groups of three or five, spaced by their full width.
- Water deeply and add mulch around, not against, each plant.
- Cut the grasses back once a year in late winter.

Hardscaping Ideas That Elevate the Design
Hardscaping gives your backyard structure and helps connect the pool to the rest of your outdoor living space.
Instead of a pool sitting in the middle of grass, think about creating destinations around it.
Some of my favorite ideas include:
Stone Terraces:
Natural stone terraces create multiple outdoor zones for relaxing and entertaining.
Mix large paving stones with decorative gravel for a timeless look.
Paver Walkways:
A well designed walkway guides visitors naturally toward the pool.
Popular materials include:
- Concrete pavers
- Natural flagstone
- Brick pavers
- Large format porcelain pavers
Choose colors that complement your home’s exterior.
Built In Seating:
Permanent seating instantly makes the space feel custom.
Options include:
- Bench seating
- Curved stone walls
- Timber benches
- Fire pit seating
Built in seating also reduces the amount of outdoor furniture you need.
Plants That Create a Luxury Look Without Constant Maintenance
One lesson I’ve learned over the years is that less is often more.
Instead of filling every corner with flowers, focus on strong, reliable plants that provide year round structure.
A simple planting palette might include:
Evergreen Shrubs:
Evergreens provide color in every season and create a clean backdrop.
Good choices include:
- Boxwood
- Japanese holly
- Dwarf yaupon holly
- Inkberry
Ornamental Grasses:
Their texture pairs beautifully with modern pool designs while requiring very little maintenance.
Clipped Hedges:
Formal hedges create privacy and give the backyard a finished appearance.
They also work well around equipment areas that you’d rather keep out of sight.
Accent Plants:
Use flowering plants sparingly to add seasonal color.
Hydrangeas, lavender, salvia, and coneflowers all work well depending on your climate.
The result feels calm, organized, and much easier to maintain than large flower beds.
Lighting and Water Features

One evening upgrade can completely change how your pool looks after sunset.
Lighting adds depth, highlights architectural details, and makes the pool feel permanent.
It also increases safety for evening swims and outdoor gatherings.
- Underwater lights
- Warm tones
- Safer nights
Lighting Ideas Worth Considering
A combination of different lighting types produces the best results.
Consider adding:
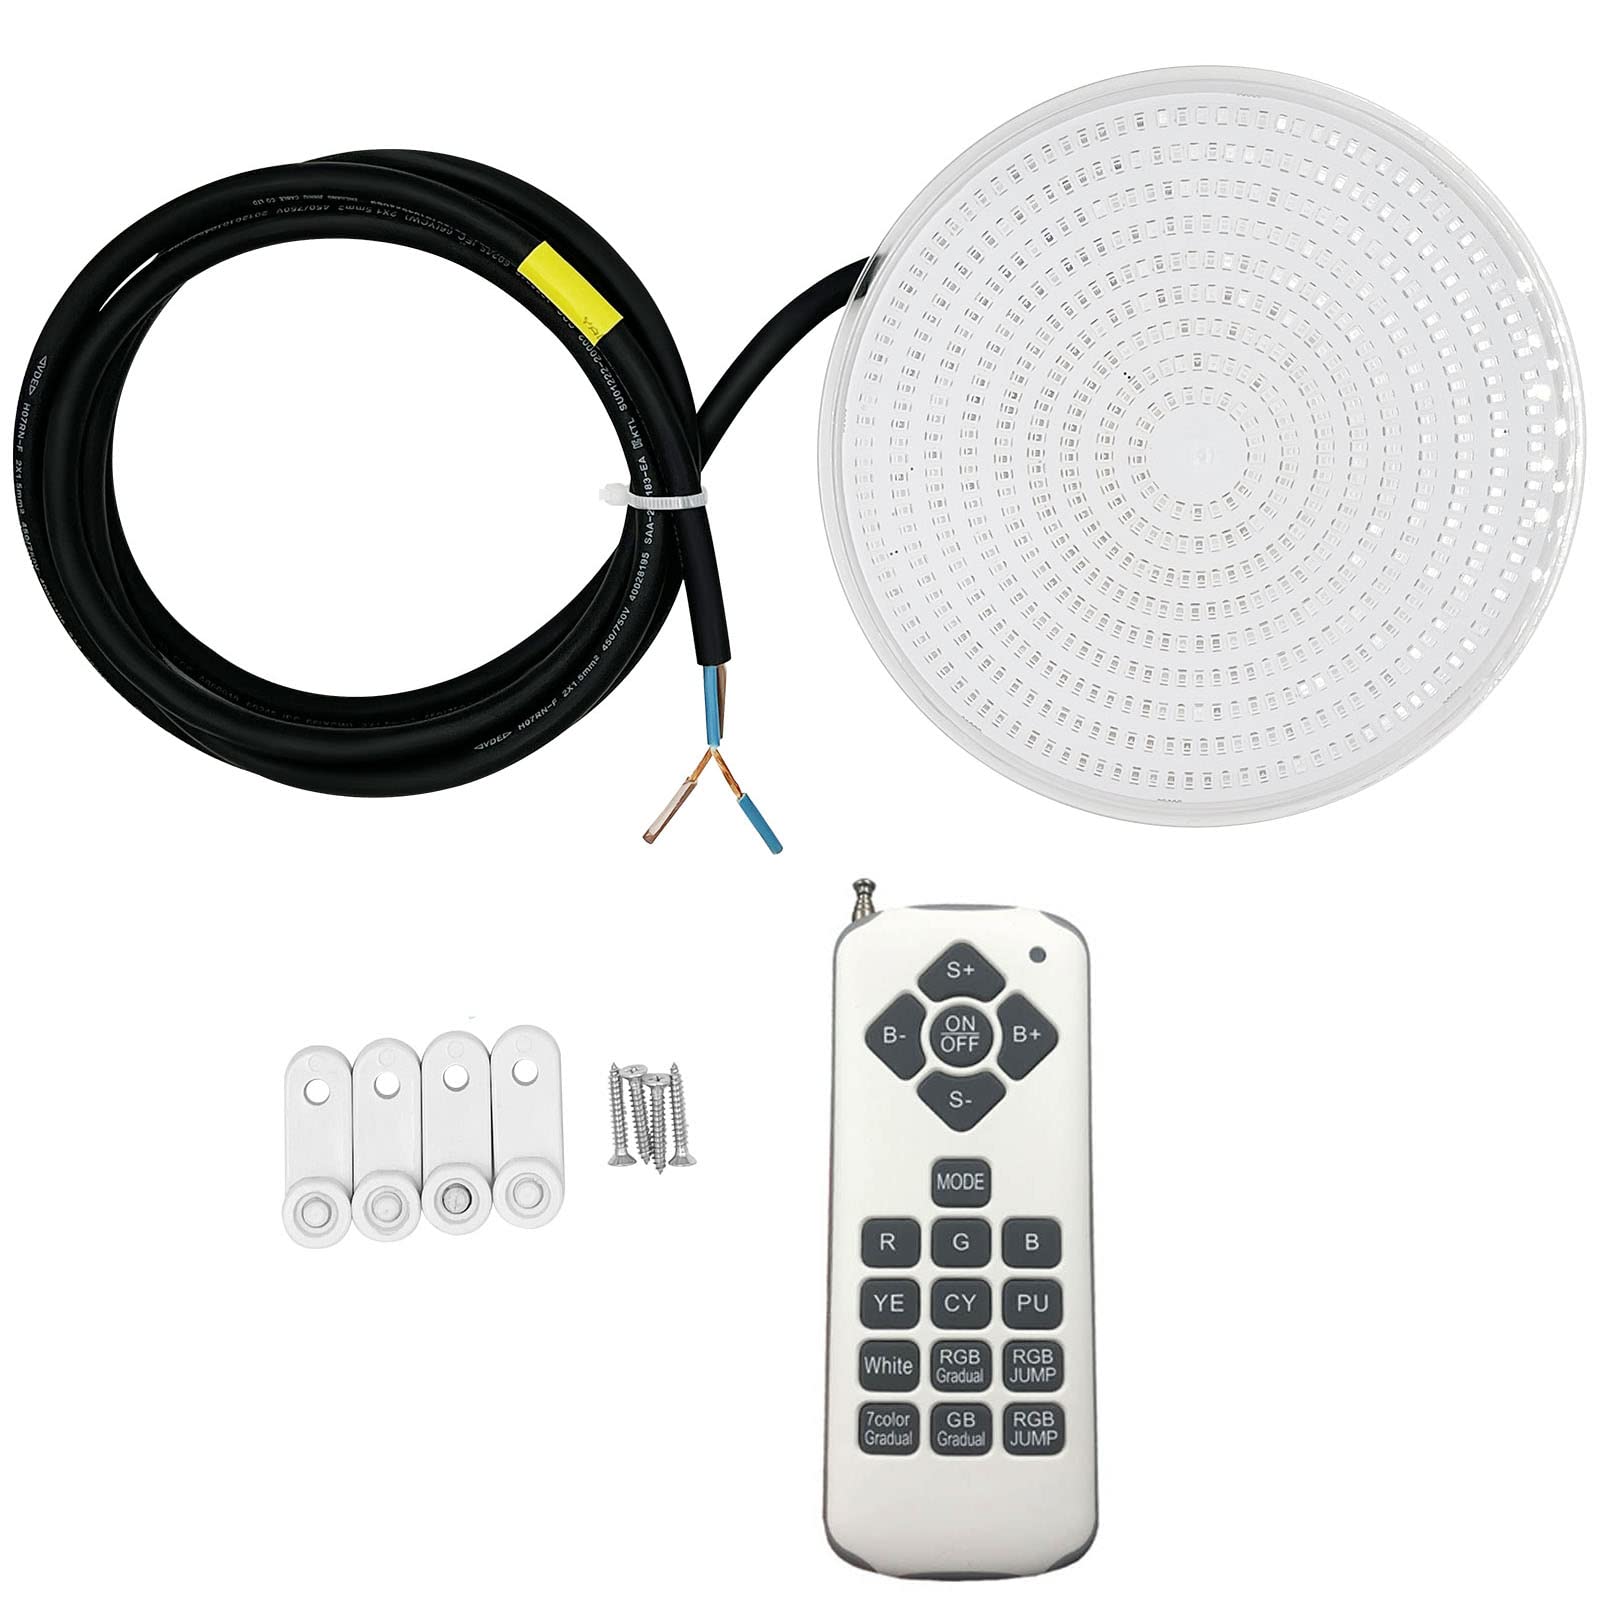
- Underwater LED lights
- Step lights on deck stairs
- Rail lighting
- Landscape uplights
- Path lights
- Accent lighting beneath benches
Warm lighting usually creates the most inviting atmosphere.
Avoid placing fixtures where they shine directly into seating areas.
Add a Simple Water Feature
You don’t need an elaborate waterfall to make an impact.
Even a small feature changes the character of the pool.
Ideas include:
- Stone spillways
- Waterfall boulders
- Decorative scuppers
- Gentle sheet waterfalls
The sound of moving water creates a relaxing atmosphere while giving the pool the appearance of a custom installation.

Practical Details and Long Term Maintenance

A beautiful pool should also be easy to maintain.
This is one area where a little planning saves countless hours later.
- Hidden equipment
- Drainage
- Frost checks
Nobody wants to look at pumps and filters while relaxing by the pool.
At the same time, you don’t want to dismantle landscaping every time maintenance is required.
Consider hiding equipment behind:
- Decorative screens
- Small equipment sheds
- Matching storage cabinets
- Louvered enclosures
Always leave enough room for servicing.
Removable panels are much better than permanently enclosed structures.
For step by step options, see this guide on how to hide an above ground pool pump.

Plan for Proper Drainage
Water is the biggest long term threat to any pool installation.
Direct rainwater away from:
- The pool base
- Deck footings
- Retaining walls
- Equipment pads
After heavy storms, walk around the pool and check for standing water or soil erosion.
Small drainage issues are much easier to fix early.
Think About Frost in Colder Climates
If you experience freezing winters, pay extra attention to seasonal movement.
Freeze thaw cycles can affect:
- Pavers
- Retaining walls
- Deck supports
- Backfilled soil
Inspect everything each spring before opening the pool.
Catching small shifts early prevents larger repairs later.
Budget and Time Expectations
The good news is that you don’t have to complete every upgrade at once.
Many homeowners spread improvements over several seasons.
Here are some general expectations:
DIY projects
- Budget: 500 to 3,000 dollars
- Time: One to three weekends
- Best for: Skirting, paint, simple landscaping, lighting, planter beds
Mid range renovations
- Budget: 4,000 to 10,000 dollars
- Time: Two to six weeks
- Best for: Decks, veneer, retaining walls, pavers
Professional custom installations
- Budget: 12,000 to 30,000 dollars or more
- Time: Four to eight weeks
- Best for: Partial recessing, extensive hardscaping, premium finishes, custom lighting
If your budget is limited, spend money where it creates the biggest visual impact.
In my experience, these upgrades provide the greatest return:
- Decking
- Landscaping
- Stone or composite cladding
- Lighting
For a full deck breakdown, see how much it costs to build an above ground pool deck.
Design Styles and Inspiration

Your pool should complement the style of your home instead of competing with it.
Matching materials and colors throughout the backyard creates a cohesive design.
- Modern
- Rustic
- Tropical
Modern Style
Modern homes pair beautifully with:
- Large porcelain tiles
- Concrete coping
- Black railings
- Composite decking
- Minimalist planting
Keep the color palette simple with gray, charcoal, white, and natural wood tones.
Rustic Style
For farmhouse or cabin inspired homes, consider:
- Timber cladding
- Stacked stone veneer
- Weathered wood decking
- Natural boulders
- Native grasses
The result feels warm and inviting.
Tropical Style
If you’re after a resort inspired backyard, include:
- Bamboo privacy screens
- Palm trees (where climate allows)
- Lush ornamental grasses
- Natural stone paths
- Water features
- Warm landscape lighting
Layering plants of different heights creates the feeling of a secluded retreat.
Step by Step Mini Project Plan

Follow this simple roadmap to transform your above ground pool.
- Measure your pool and backyard.
- Decide whether you’ll build a deck, partially recess the pool, or install decorative cladding.
- Plan drainage, utilities, and equipment access.
- Build the deck, retaining walls, or structural elements.
- Install cladding, coping, and exterior finishes.
- Add landscaping, patios, walkways, and lighting.
- Inspect the entire project for safety and drainage.
- Fill the pool, arrange outdoor furniture, and enjoy your new backyard retreat.
Taking the project one phase at a time keeps costs manageable and makes the work feel less overwhelming.
- Plan
- Build
- Finish
Budget Breakdown and Decision Guide

| Project Level | Approximate Cost | Time | Visual Impact |
| Budget DIY | 500 to 2,500 dollars | 1 to 2 weekends | Paint or skirting, planter beds, mulch, simple lighting. A noticeable improvement at a modest cost. |
| Mid Range Upgrade | 4,000 to 10,000 dollars | 2 to 6 weeks | Wrap around deck, decorative veneer, paver walkway, upgraded landscaping. Delivers a convincing built in appearance. |
| Premium Transformation | 12,000 to 30,000 dollars or more | 1 to 2 months | Partial recess, natural stone coping, custom lighting, retaining walls, premium hardscaping. Closely resembles a professionally installed inground pool. |
- Budget DIY
- Mid range
- Premium
Common Mistakes to Avoid
Before starting your project, keep these common mistakes in mind:
- Attaching the deck directly to the pool structure.
- Ignoring drainage around the base of the pool.
- Using materials that aren’t rated for outdoor or pool environments.
- Permanently covering pumps and filters with no access panels.
- Planting large trees too close to the pool.
- Forgetting to check local building codes or permit requirements.
- Choosing finishes that don’t match the style of your home.
- Underestimating the importance of proper site preparation.
Avoiding these mistakes will save money, reduce maintenance, and help your project last for many years.
- Free standing deck
- Drainage
- Access panels
Frequently Asked Questions
What is the easiest way to make an above ground pool look inground?
A flush deck that meets the top rail on at least one side makes the biggest difference. Add skirting or cladding on the exposed walls and plants along the edges to finish the look.
Can I bury my above ground pool partway?
Only if the pool maker says your model can be partially buried. Many standard above ground pools are not built to hold back soil, so check the manual before you dig.
Should the deck be attached to the pool?
No. Build the deck as a free standing structure on its own footings. The pool wall should never carry the deck’s weight.
What is the cheapest way to hide above ground pool walls?
Timber slat panels, pool skirting, painted wall wraps and a border of ornamental grasses or shrubs are the most affordable ways to hide the walls.
Do I need a permit to make my pool look inground?
Decks, retaining walls and excavation often need a permit, and pool barrier rules apply in most areas. Check with your local building department before starting.
Final Thoughts on Making an Above Ground Pool Look Inground
Transforming an above ground pool into something that looks like an inground installation isn’t about one dramatic upgrade. It’s the combination of thoughtful design choices that makes the biggest difference.
A well planned deck hides exposed walls. Stone veneer or composite cladding gives the exterior a finished look. Landscaping softens edges, while lighting and hardscaping tie everything together into one cohesive outdoor space.
If you’re working with a limited budget, start with the upgrades that deliver the greatest visual impact, then build on them over time. Even small improvements can dramatically change the way your backyard feels.
The best projects aren’t necessarily the most expensive. They’re the ones that look intentional, complement your home, and create a space you’ll genuinely enjoy using throughout the swimming season. With careful planning and the right materials, your above ground pool can become the centerpiece of a backyard that feels every bit as inviting as a custom inground design.


