


In This Article Show
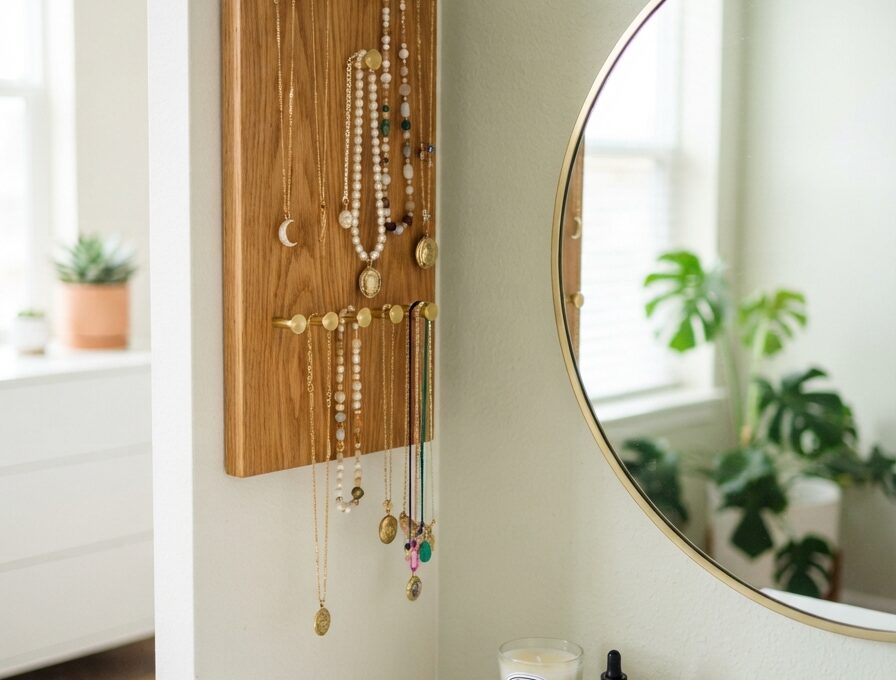
My necklaces used to live in a tangled pile in a drawer until I finally got tired of untangling chains every single morning and decided to build something to actually hang them properly. It turns out necklace holders are one of the easiest categories of DIY project out there since you can build one from almost anything, a picture frame, a piece of driftwood, even just a few knobs screwed into a board. I ended up making several different versions for different rooms, a simple wall mounted one for my main jewelry, and a smaller stand for the pieces I wear most often. Whether you want something cute and simple or a bit more of a statement piece, there is a version here that fits your space and budget. Here are twelve DIY necklace holder ideas that genuinely solved my tangled jewelry problem.

1. Wall Mounted Knob Board
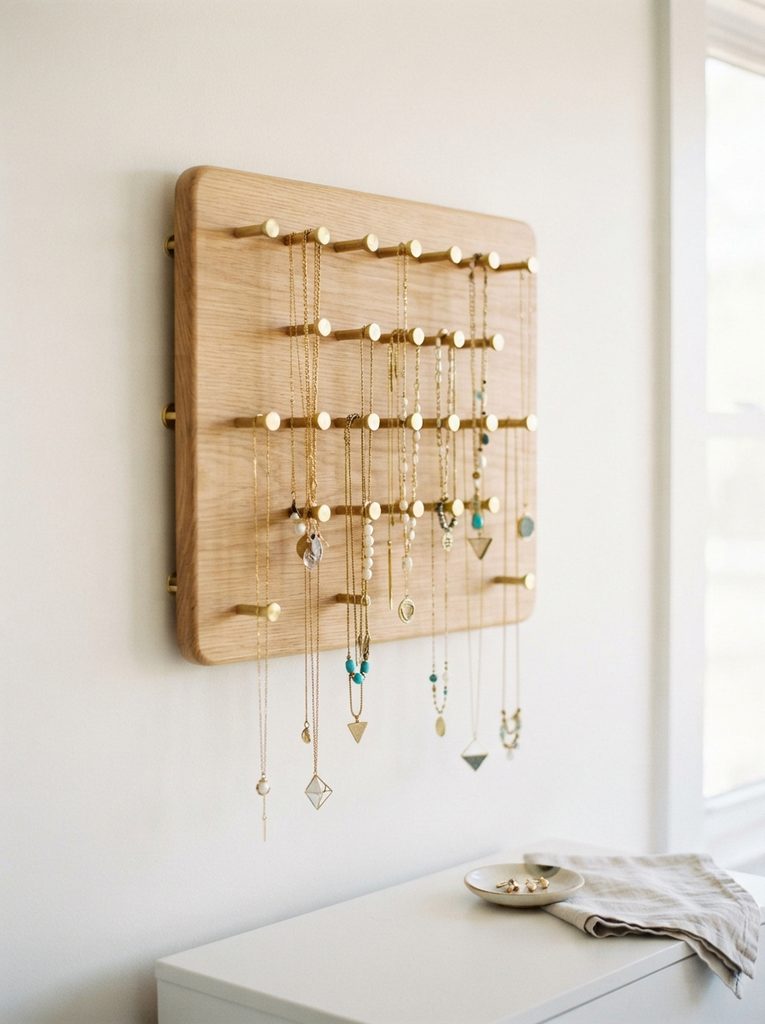
A simple wooden board with a row of small knobs screwed in is honestly the most classic necklace holder design and it is also one of the easiest to build in an afternoon. I like spacing the knobs a bit wider than seems necessary at first since longer necklaces need more room to hang without tangling with the ones next to them. A tip I picked up is choosing knobs with a slight curve or hook shape rather than perfectly round ones, chains slide off flat knobs more easily than you would think.
2. Picture Frame Hook Organizer
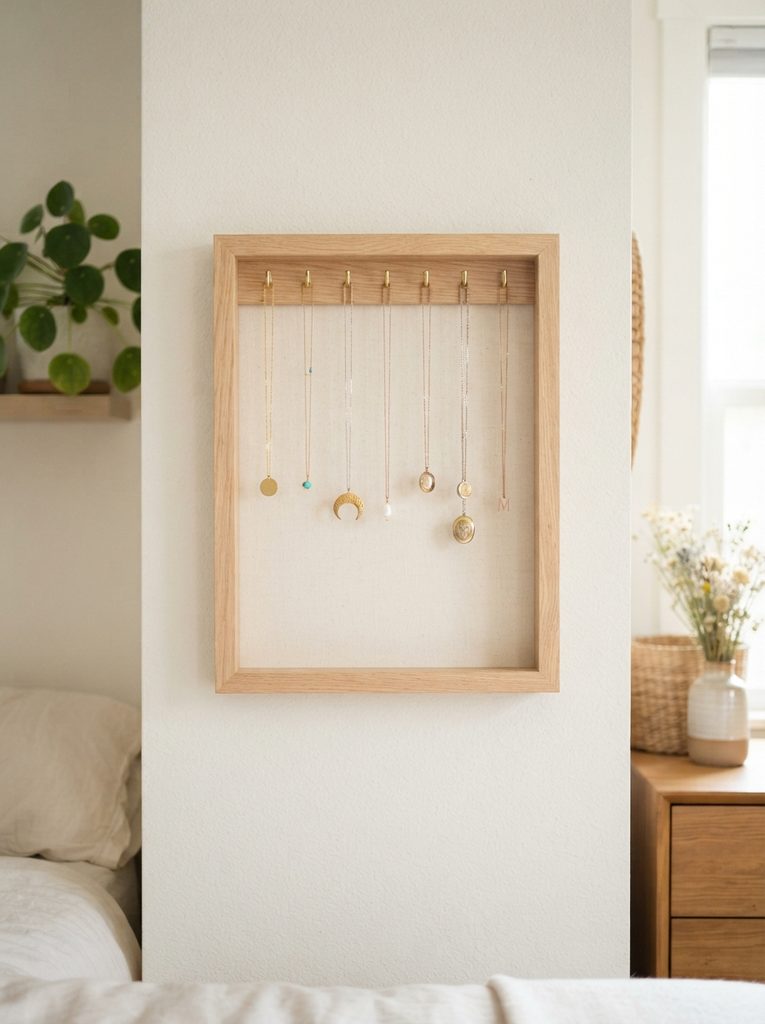
Removing the glass and backing from an old picture frame and adding a row of small hooks across the opening turns it into a hanging necklace organizer that still looks like a piece of wall art. In my experience using a frame with some decorative detail on the edges makes the whole piece feel more finished than a plain flat frame would. This is a great project for repurposing a frame you already have sitting in storage from an old photo that no longer fits your decor.
3. Dollar Tree Bud Vase Stand

Gluing a few inexpensive bud vases upside down onto a flat wooden base creates a set of little necklace stands, each vase base acting as a small pedestal for a single piece. Honestly this is one of the most budget friendly projects on the list since everything can come from a dollar store. A tip here is using a strong craft glue rather than a hot glue gun, hot glue tends to lose its grip on glass surfaces after a few months of regular use.
4. Air Dry Clay Hand Dish

Sculpting a small dish shaped like a cupped hand from air dry clay makes a cute, functional catchall for rings and short necklaces on a bedside table or vanity. I genuinely think this is one of the more forgiving clay projects for beginners since a slightly imperfect hand shape still reads as charming rather than looking like a mistake. A tip I picked up is sanding the dried clay lightly before painting, it smooths out any small cracks that tend to form while air drying.
5. Driftwood Branch Hanger

A simple tree branch mounted horizontally on the wall gives necklaces a natural, organic place to hang while adding a bit of texture to an otherwise plain wall. In my experience sanding down any rough or sharp bits on the branch first prevents delicate chains from snagging or getting scratched. This piece also works well without any hooks at all if the branch has enough small natural knots and offshoots to hang things from directly.
6. Cardboard Tree Silhouette

Cutting a simple tree silhouette from sturdy cardboard and adding small wooden pegs along the branches creates a whimsical necklace display that costs almost nothing to build. A tip here is reinforcing the cardboard with a layer of mod podge or a thin coat of varnish before adding the pegs, plain cardboard can sag over time under the weight of several necklaces. This is a fun project to do with kids since the tree shape does not need to be perfectly symmetrical to look good.
7. Vintage Doorknob Rack

Mounting a few mismatched vintage style doorknobs onto a board gives a necklace holder real character, especially if each knob has a slightly different finish or shape. I like mixing brass, glass, and ceramic knobs together on the same board since the variety keeps it visually interesting rather than looking like a uniform set. This is a great option if you enjoy browsing flea markets or thrift stores since knobs are usually cheap and easy to find secondhand.
8. Popsicle Stick Geometric Stand
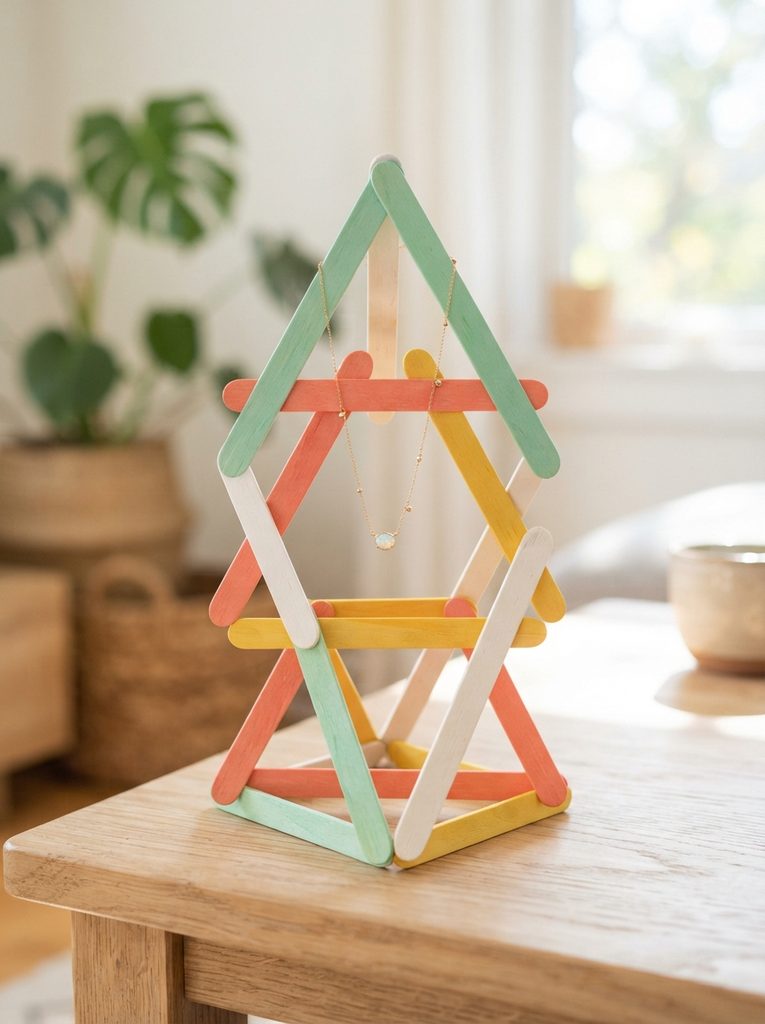
Gluing popsicle sticks into a simple triangular or diamond shaped frame makes a lightweight, freestanding necklace stand that is genuinely easy for beginners to put together. A practical tip, let each glued joint dry fully before adding the next stick, rushing this step is the most common reason these stands end up wobbly. Painting the finished stand a solid color rather than leaving the natural wood tone helps it look more like an intentional piece of decor.
9. Repurposed Picture Frame Corkboard Hybrid
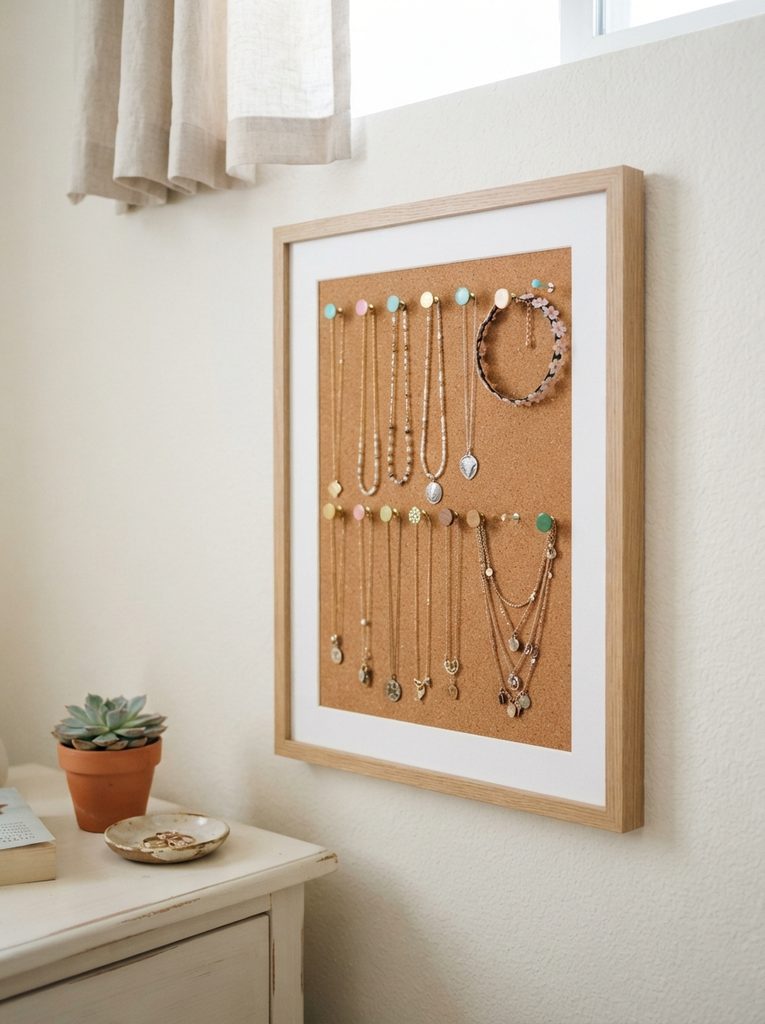
Replacing the glass in a frame with a piece of cork board and adding a few decorative pins gives you both a necklace organizer and a small memo board in one piece. Honestly this is a great option for smaller bedrooms where every wall piece needs to pull double duty. I would suggest using pins with a decorative head, like small pearls or beads, since they add a nice detail even where no necklace is currently hanging.
10. Goth Style Antler Hook Display
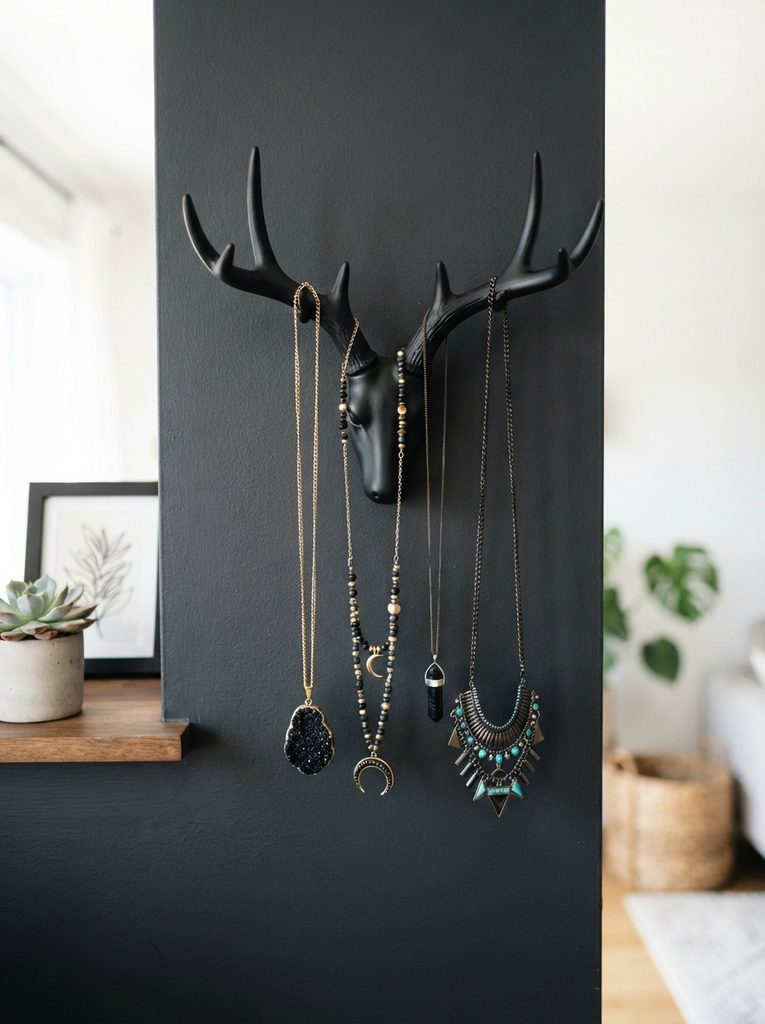
A faux antler hook painted matte black brings a moodier, gothic edge to necklace storage that fits well in a darker styled bedroom or entryway. I genuinely like how a single dramatic hook can hold a few statement necklaces as its own small display rather than needing a whole board of hooks. This works especially well mounted against a dark accent wall where the black antler shape stands out as a sculptural piece on its own.
11. Travel Roll Up Necklace Case

Sewing a simple fabric roll with individual felt loops sewn inside solves the tangled necklace problem specifically for travel, since each necklace stays in its own loop instead of shifting around in a bag. A tip I picked up is spacing the loops slightly further apart than seems necessary, tightly packed loops make it harder to grab just one necklace without disturbing the others. This is a genuinely useful gift idea for anyone who travels often with jewelry.
12. Crochet Hanging Basket Catchall
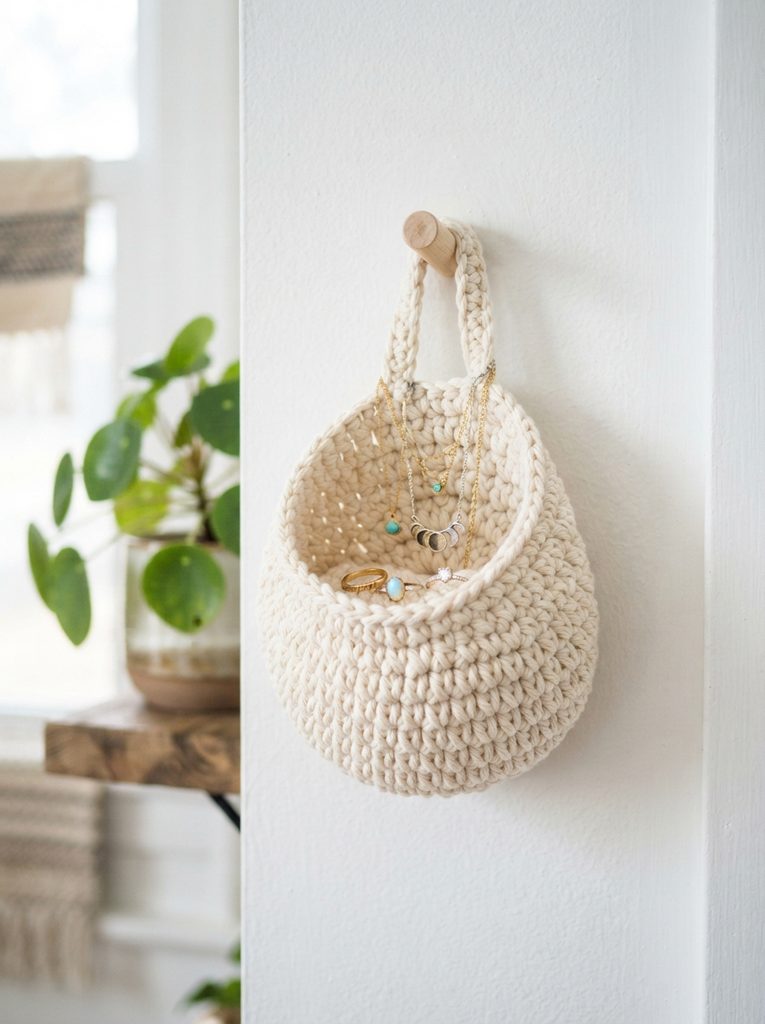
A small crocheted basket hung on the wall gives a soft, textured alternative to the usual wood or metal necklace holders, and it works especially well for shorter necklaces and rings that do not need much hanging length. In my experience a tighter crochet stitch holds its shape better as a wall basket than a loose, open weave pattern would. This is a nice option if you already crochet and want a functional project rather than another blanket or scarf.
Final Thoughts on DIY Necklace Holder Ideas
Looking back at all twelve of these, the best choice really comes down to how much jewelry you actually own and what style fits the room it will hang in, since a simple knob board works differently than a full antler display or a travel case. Beginners genuinely do well starting with the knob board or the dollar tree vase stand since both need very few tools and materials. Whichever version you build, having a proper spot for your necklaces makes getting ready every morning noticeably less frustrating.