
How to DIY an Above Ground Pool Privacy Wall
A privacy wall turns your above ground pool from a backyard eyesore into a proper outdoor retreat. If you can measure, cut, and drive a screw, you can build one in a weekend. I put mine up two summers ago, and it changed how we actually use the pool.
This guide walks you through everything from planning to the finishing touches, so you can do the same without the guesswork.
Planning and Preparation

Good planning saves you from tearing things apart later. Before you buy a single board or dig a single post hole, spend time on these steps.
Figure Out the Purpose First
Ask yourself what the wall actually needs to do. Are you blocking a neighbor’s sightline, hiding pool equipment, cutting wind, or all three? The answer shapes everything from height and materials to where you position the wall.
Check Local Codes
Most municipalities treat freestanding privacy walls differently from pool fences, but some don’t. Call your local building department or check their website before you start. You may need a permit if the wall exceeds a certain height (usually 6 feet), sits within a specific setback from the property line, or is attached to an existing structure.
It takes 10 minutes and can save you from tearing down a finished wall later.
Plan Your Layout
Decide whether you want the wall on one side of the pool, on two sides in an L-shape, or wrapping around three sides. Walk around your yard at different times of day and pay attention to where the sun hits and which direction the wind comes from. You want shade and wind protection, not a wall that traps heat or blocks your view of the kids in the water.
Measure Twice
Measure the length of the run you want to cover and note any obstacles like hose bibs, electrical outlets, or irrigation lines. Sketch a simple diagram with dimensions. You don’t need drafting skills, just something to reference when you’re at the lumber yard.
See Also: 11 DIY Above Ground Pool Ideas That Look Luxe on Any Budget
Tools and Materials Checklist
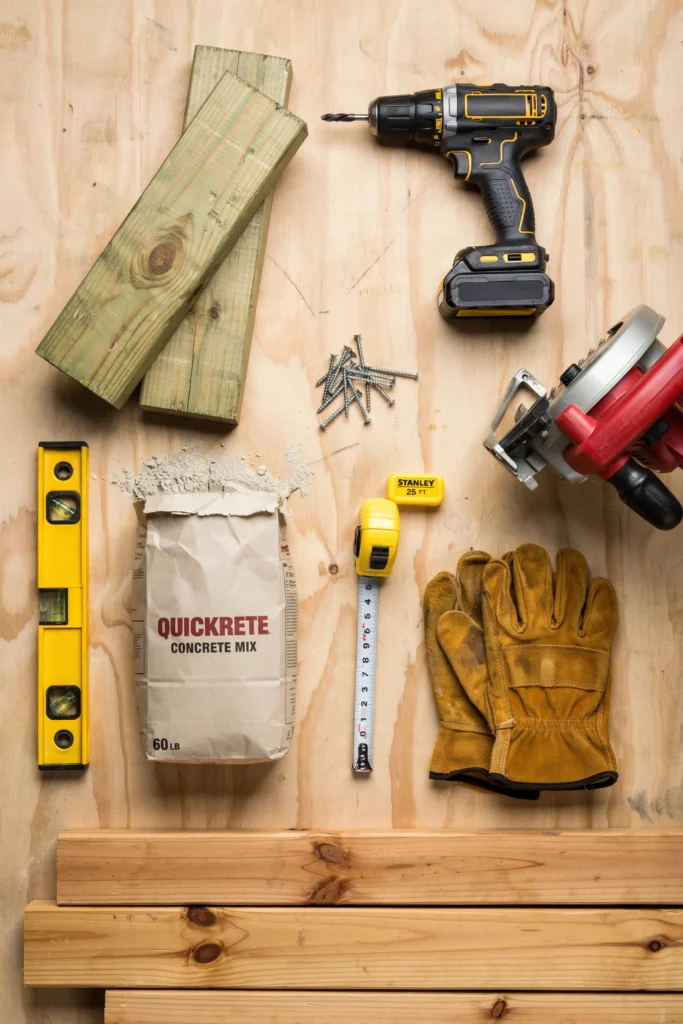
You won’t need anything exotic. Most of what’s on this list is already in a basic DIY toolkit.
Tools
- Post hole digger or power auger (rent the auger for anything over 4 posts)
- Circular saw or miter saw
- Drill/driver with bits
- Level (4-foot level is ideal)
- Tape measure
- String line and stakes
- Speed square
- Safety glasses and gloves
- Concrete mixing tub or wheelbarrow
Materials
- Pressure-treated 4×4 posts (for ground contact, rated UC4B or higher)
- Fence boards or panels (cedar, pine, or composite)
- 2×4 horizontal rails
- Fast-setting concrete (2 to 3 bags per post depending on soil)
- Exterior wood screws (3-inch for rails, 1.5-inch for boards)
- Post caps (keeps water out of the end grain)
- Gravel or crushed stone (for base drainage in post holes)
- Wood sealer, stain, or exterior paint
Optional but Useful
- Post level (clips onto the post so you can set it plumb hands-free while the concrete sets)
- Jig or spacer block for consistent board gaps
- Deck screws with coated tips to prevent rust staining on wood
Step-by-Step Construction Guide
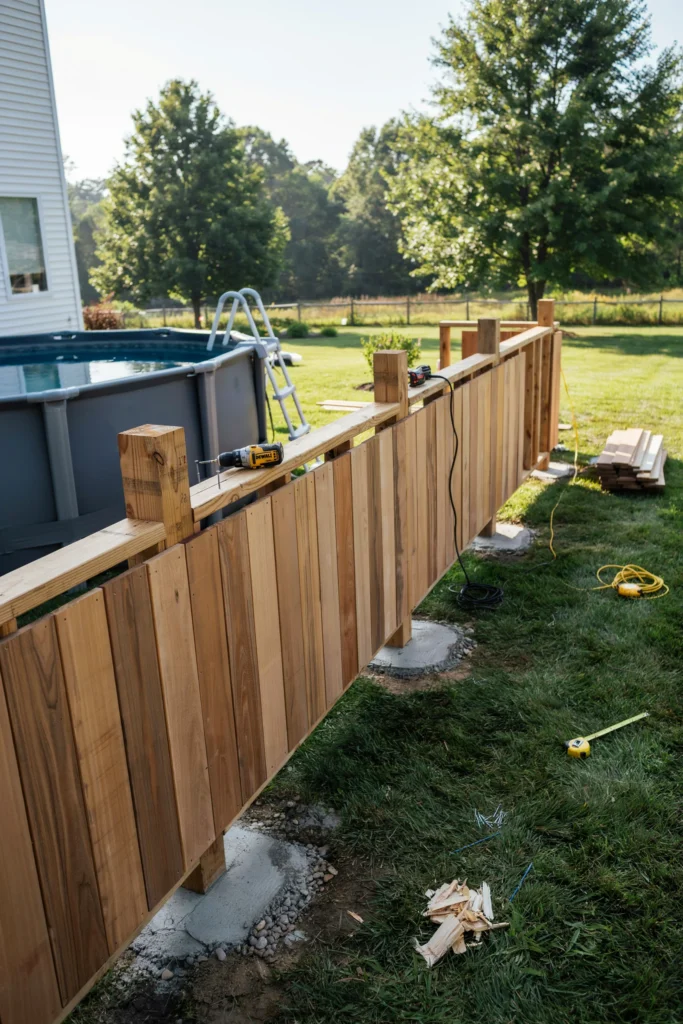
Take your time on the layout and post setting. Everything else goes quickly once the posts are plumb and solid.
Step 1: Mark Your Post Locations
Use stakes and a string line to mark the wall’s path. Space posts 6 to 8 feet apart, depending on panel weight and wind exposure. Closer spacing adds strength. Mark each post location with spray paint or a small stake.
Step 2: Dig the Post Holes
Dig each hole to a depth of one-third the post height plus 6 inches for gravel drainage. For a 6-foot privacy wall using 8-foot posts, dig about 30 inches deep. Width should be about three times the post diameter, so roughly 12 inches for a 4×4.
Pour 4 to 6 inches of gravel in the bottom of each hole. This keeps water from pooling around the post base, which is the main cause of premature rot.
Step 3: Set the Posts
Drop the post in, check for plumb with your level on two adjacent sides, and brace it in position. Mix fast-setting concrete according to the bag instructions and pour it around the post. No need to pre-mix in a tub; most fast-set concrete can go in dry and you add water on top.
Keep the brace on until the concrete sets, usually 4 hours for fast-set. Don’t rush this step. A leaning post throws everything else off.
Step 4: Attach the Horizontal Rails
Once all posts are set and cured, attach your 2×4 rails horizontally between them. For a 6-foot wall, run three rails: one near the top, one in the middle, and one about 12 inches from the bottom. Toe-screw or use metal rail brackets for a cleaner look and stronger connection.
Step 5: Install the Fence Boards
Start from one end and work your way along. Use a spacer block to keep gaps consistent (about 1/4 inch works for cedar, which expands and contracts with moisture). Attach each board with two screws per rail. Check every few boards that things are still plumb and square.
If you’re going for a horizontal board look, run boards in rows from bottom to top and butt them tight or leave a 1/4-inch shadow gap for a more modern appearance.
Step 6: Cut and Cap
Trim any boards that overhang at the top to a consistent height. Install post caps on every post. They’re cheap and make a real difference in how long the posts last.
Weatherproofing and Longevity
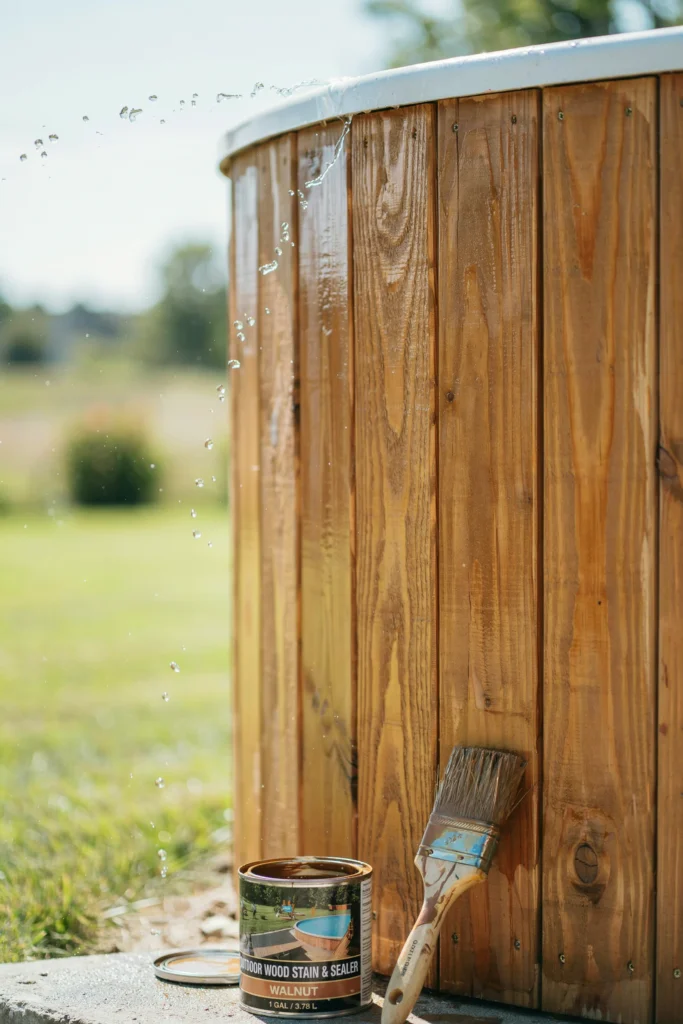
A privacy wall sits in the elements year-round. A little maintenance now means you won’t be rebuilding in five years.
Seal the Wood
Apply an exterior-grade wood sealer, stain, or paint within a few weeks of construction. Unsealed wood near a pool is asking for trouble. The water splash and humidity accelerate warping and graying.
For cedar or redwood, a clear penetrating oil sealer every two years is enough to keep the natural look while protecting the grain. For pine, a solid stain or paint gives better long-term protection.
Ground Contact Matters
Make sure no fence boards touch the soil directly. Leave at least 2 inches of clearance between the lowest board and the ground. Soil contact is where rot starts, even with pressure-treated posts.
Annual Checklist
- Tighten any loose screws before winter
- Check post bases for cracking concrete or heaving from frost
- Look for any boards showing signs of checking or splitting
- Reapply sealer or touch up paint as needed
- Clear debris from behind the wall where moisture can collect
Composite Option
If you want to skip most of the maintenance, composite fence boards are worth the extra upfront cost. They don’t rot, warp, or need sealing. The color stays consistent for years without any effort.
Creative Customization Ideas (Optional Upgrades)
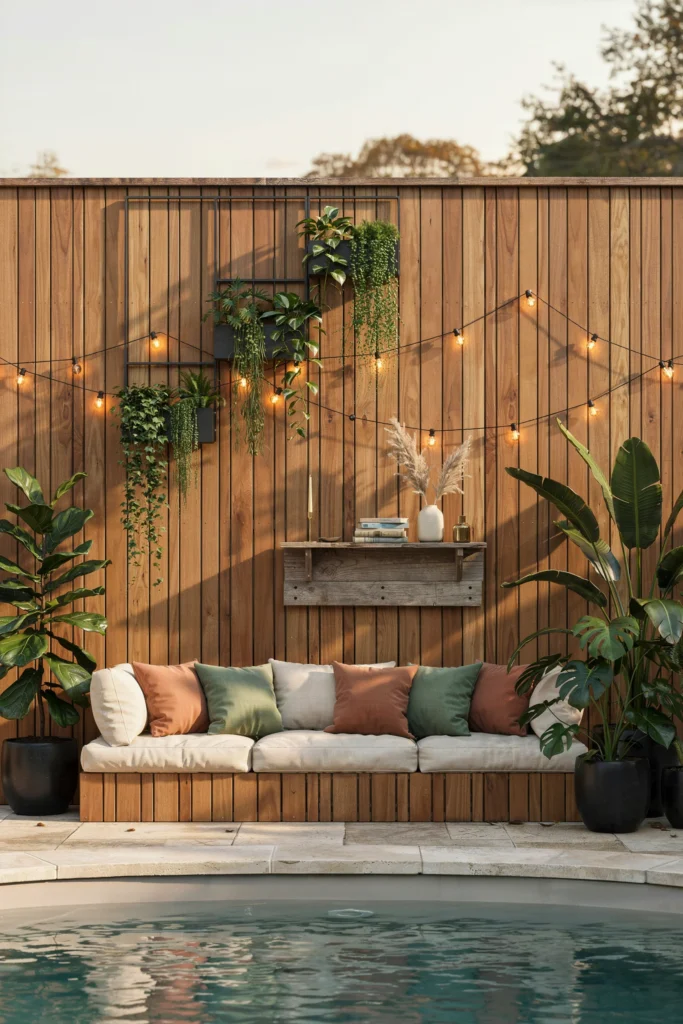
Once the structure is solid, there are plenty of ways to make it your own.
Add Outdoor String Lights
Run weatherproof string lights along the top rail or weave them through lattice panels at the top of the wall. It takes about 30 minutes and completely changes the feel of the space after dark.
Build a Planter Box at the Base
Frame a simple planter box along the base of the wall and fill it with ornamental grasses, tropical plants, or trailing vines. It softens the look, adds privacy at the base, and makes the wall feel like a design choice rather than a barrier.
Add a Horizontal Board Accent
Instead of running all boards vertically, alternate sections of vertical and horizontal boarding. It gives the wall a more architectural look without any extra cost.
Mount an Outdoor Shower or Hook Rail
Use the interior-facing side of the wall to mount a simple outdoor shower setup or a row of hooks for towels and pool toys. The wall becomes functional storage instead of just a visual block.
Lattice Top Panel
Add a 12 to 18-inch lattice section along the top of the wall. It lets light and a breeze through while still blocking sightlines, and it’s a natural trellis for climbing plants.
Conclusion
Building an above ground pool privacy wall is one of those weekend projects that pays off every single day you use your pool. You get more privacy, better wind protection, and a space that actually feels finished and intentional.
Start with solid posts, use the right materials for ground contact, and seal the wood before your first rainstorm. The rest is just carpentry. Once it’s done, you’ll wonder how you used the pool without it.
Frequently Asked Questions (FAQs)
How far away from the pool should the privacy wall be?
Give yourself at least 3 to 4 feet between the pool wall and the privacy wall. This clearance lets you walk around the pool comfortably, access the pool ladder without squeezing, and reach the pool’s top rail for maintenance. If you’re placing the wall behind a deck or platform, match the deck perimeter and add a foot of buffer beyond it.
Do I need a building permit for a privacy wall?
It depends on your municipality. Most areas require a permit if the wall exceeds 6 feet in height, sits within a certain distance of a property line, or is structurally attached to your home. Some places treat it as a fence and others as a structure, and the rules differ. Check with your local building department before you start. Getting this wrong can result in fines or a mandatory teardown.
Can I attach the privacy wall directly to the above-ground pool frame?
It’s not a good idea. Above ground pool frames are designed to hold water pressure and the pool liner, not lateral loads from a fence structure. Attaching a privacy wall to the frame can warp or damage the pool wall over time. Build the privacy wall as a freestanding structure with its own posts, positioned close to the pool but not connected to it.
What is the cheapest material to use for a privacy wall?
Pressure-treated pine is the most affordable option that holds up outdoors. It’s available at every lumber yard, it takes paint and stain well, and it’s strong enough for post and rail construction. The trade-off is that it needs sealing every couple of years and can warp if not properly dried before installation. Cedar costs more upfront but is naturally resistant to moisture and insects, which cuts down on long-term maintenance costs.
How do I stop the wall from blowing over in high winds?
Depth and concrete are your main tools here. Set posts to a depth of at least one-third of their total length and always use concrete rather than just tamped soil. For a wall in a wind-exposed area, space posts closer together (every 4 to 6 feet instead of 8), and consider leaving small gaps between boards rather than using solid panels. Gaps let wind pass through instead of pushing against a solid surface. A solid 6-foot wall acts like a sail in a strong gust. A slatted wall with 1/4-inch gaps is much more wind-stable.